

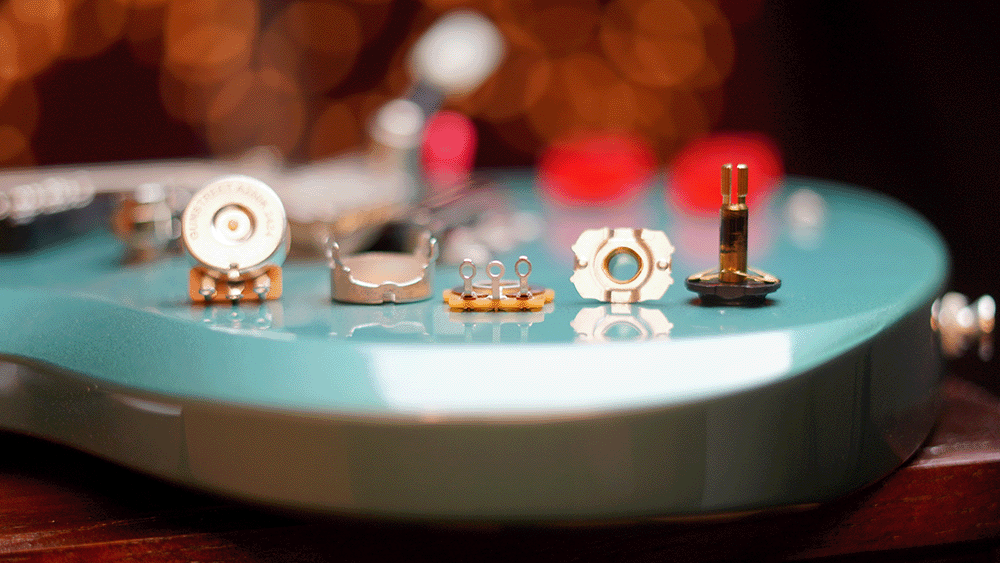
5 Ways to Accidentally Kill Your Guitar's Potentiometer (and How to Avoid Them!)
It happens to the best of us: you're deep into a performance or wiring project, chasing that perfect sound, when that vital component suddenly dies. In guitar electronics, the potentiometer is the workhorse managing your pickups output and EQ. Yet even a workhorse has a breaking point, and often the primary threat is the person using it.
No one needs to reinvent the wheel when it comes to pots. After 70+ years, modern potentiometers are incredibly solid, and even mid-tier budget models can pack decent hardware. Still, a few notorious blunders can wreck even high-end components prematurely. Avoiding these classic traps will save you a massive headache—and an extra trip to the guitar store, or even us.
Here are 5 ways you might inadvertently kill a potentiometer in your guitar wiring, and how to keep yours healthy: with as many real world photos we can get.
1. The Over-Heated Hero: Adding Too Much Heat to the Lugs
This is perhaps the most common culprit, especially when transitioning from a nervous, “second-guessing yourself” absolute beginner to an overly confident, “I’ve done this a handful of times, I’m a pro now” greenhorn.

When you're soldering wires to the pot's lugs (keyword: lugs—your pot’s casing can withstand much more heat), it's crucial to be quick and efficient. Applying too much heat for too long can transfer that heat directly into the pot's internal carbon track, “frying” it either 100% or partially. You can even melt the internal fiberglass resin on which the resistor sits. The second scenario sounds far-fetched, but here's a real photo from someone who actually burnt a lug right off a lever switch.

Why this happens: Most components (like potentiometers) have a maximum rated heat resistance. For example, CTS—a ubiquitous pot brand—specifies 350°C (662°F) for 3 seconds on the lug.

Datasheet from CTS
Seems high until you realize your iron is very close to that temp out of the box. Again, it is truly about understanding timing when it comes to soldering.
The Pro Way: Arm yourself with a high-quality, temperature-controlled iron to ensure you’re moving with precision and speed.

While you’ll hear people suggest pre-tinning the lugs, we actually recommend skipping it—most times it just adds unnecessary headaches that slow you down. Instead, focus on hitting the wire and lug together with a lean amount of solder; dumping too much on creates a stubborn heat-sink that fights your iron and joint. Aim to be in and out in under 4 seconds, then let the component breathe for a full 30 seconds. If you’ve gone lead-free, you’ve got a tight 2–3 second window. Don’t get discouraged if your first few attempts look bad and messy; mastering the art of the joint is a rite of passage for any gearhead and takes decades to perfect. Failing on your first few attempts is just a natural part of the journey!
2. The Inner Turmoil: Getting Solder Inside the Casing
It might seem impossible, but stray solder can wreak havoc inside your pot. This usually happens when you're soldering close to the bump stop opening at the top and a drip or splatter finds its way into the casing opening or through small gaps.

Why this is important: Even the tiniest speck of solder can scratch off or short the carbon resistor, creating permanent dead spots or making the pot's track unusable after a short time. Getting solder into the openings at the top can wreak havoc on functionality; at best, it will cause the pot to lose its full rotation, and at worst, cause the shaft to become stuck in place, effectively hard-wiring your pot to always stay at a fixed volume.

The Pro Way: Stay sharp during your soldering session. Avoid feeding the solder too quickly to prevent those nasty splatters, and keep a hawk-eye on where that molten liquid could migrate to. It's that simple.
3. The Wrong Fit Fiasco: Installing the Wrong Knob

It might sound like a minor detail, but aggressively forcing a knob onto a potentiometer can lead to a quick death for your component. I could argue that this one blunder is even more dangerous than "frying" your pot, but it really depends on the person. Most pots are engineered to handle roughly 30 lbs of pressure applied either up or down for just a brief moment. That might seem sturdy, but consider that a single finger can easily exert 5–10 lbs of force without much effort.

Why this matters: Picture this: you've just finished a clean wiring job and go to install your old knobs, only to find they don't quite fit. If you use your palm to press them home, you've likely just killed the pot. A palm force can inadvertently apply three to five times the rated pressure. The result? The shaft either pops the back casing right off or simply falls out mid-performance. Even if you have the right part, failing to align the knurling correctly can create enough excessive pressure to cause the exact same catastrophe.

The Fix: Before you wrap up the job, ensure that the pot’s shaft and the knob’s mounting hole are a perfect match. If the specs align, verify the knurling is properly oriented before applying any pressure. If it won’t slide on with a gentle touch, stop—don’t try to be a hero and force it. Taking a second to get this right is the only way to safeguard your rig. We’ve actually put together a full deep dive on mastering the art of knob installation just for this reason; trust us, reviewing the guide now is a much better use of your time than leaving a grumpy rant online or in a gear forum later. Find the link here
4. The Over-Tightened Tyrant: Overtightening Mounting Nuts

While keeping your components secure is vital—otherwise you might damage the wiring—there is a clear threshold where you cross from a rock-solid installation into total gear catastrophe. It's a classic newbie mistake: you're determined to keep those pots from budging, so you grab the wrench for one last "industrial-strength" twist. Then—BAM—you've officially entered a world of hurt.
The Kill Shot: In the world of guitar tech, "tight" is a dangerously relative concept. Are you cranking these down like you're securing a wheel on a Formula 1 car, or just snugging up a jar of pickles? Applying that Herculean force can easily fracture the brass bushing, annihilate the threads, or leave the whole mounting assembly spinning in circles. That last scenario is a unique brand of misery because most control cavities are incredibly cramped. You might actually find yourself forced to deploy a Dremel just to surgically remove the wreckage. Try not to chew up your beautiful nitro finish!

The Fix: Aim for firm, not Herculean. Start by tightening the nut until it's "hand tight." Once you hit that initial resistance, a simple quarter to half turn with your wrench is all it takes to keep things locked down without a catastrophe.
5. The Constant Grind: Excess Wear on the Resistor (aka Heavy Playing)
While the other points are about installation errors, this one is about the natural lifecycle of a pot, accelerated by enthusiastic use. Inside every pot is a resistive track (often carbon-based) and a wiper that moves along it as you turn the knob. But every time you “use” your knob a very fine layer of that carbon gets scratched off. Most high-end potentiometers are rated for 13k-15k rotations.
The Reality Check: For your average bedroom jammer, reaching that 15,000-rotation threshold might take a lifetime, but if you're a semi-pro player or heavy user constantly using volume swells through every set, you could easily reach that lifespan in under twenty-four months. Physics is a cruel mistress; every single turn means the wiper is physically grinding down the carbon track. You'll know you've hit the danger zone when your signal gets plagued by nasty crackles or hits those haunting "dead spots" where your output just vanishes. It's like a trail that's been hiked so much the ground has turned into a trench.
What can you do if you are a heavy user?: Truthfully, there is no real fix for this. We recommend you search for “long life” versions of pots, or expect to change out a pot every few years.
Bonus: Environmental Sabotage: When Your Biome Demands Maintenance
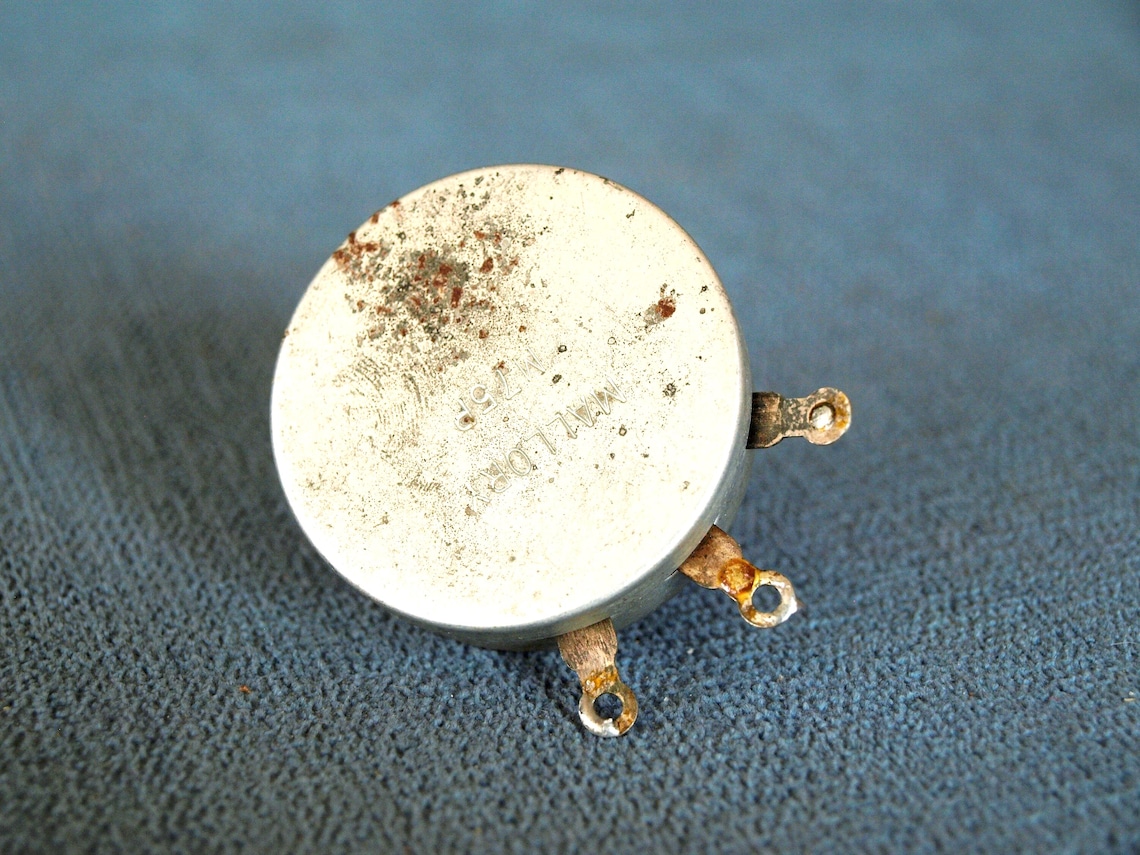
In all fairness, this isn't necessarily a "total gear failure" right out of the gate, but consider it an essential bonus tip for your technical arsenal!

If your personal biome is particularly swampy or humid, you'll need to get proactive with a quality contact cleaner—think DeoxIT—to scrub those internal tracks at least once a year. While lucky players in bone-dry desert climates might enjoy decades of silent operation, those living near the coast or in sweltering humidity can see nasty oxidation creep in within a single year if their rig isn't kept in a strictly controlled environment. Think of this routine as an oil change for your electronics; you don't need to be obsessed, but staying ahead of the grime is the only way to ensure your tone stays crisp and clear.
And that's it!
Staying vigilant against these traps extends your rig's life and keeps your tone crystal clear. Next time you see online complaints about "pot quality," you’ll know the real story: these are often simple, avoidable mistakes rather than real manufacturing defects. Master these steps to keep your build in top shape, and you'll look like a pro tech!
If these gear insights help you safeguard your rig, stay tuned for more technical breakdowns and consider sharing this knowledge with another gearhead. Keeping the community informed is how we all stay sharp and grow—now go grab your iron and keep those builds clean!
Happy wiring!
Read more

Why Using Resistors to Tame Your Tone Is a Bad Idea If you're an avid modder, there's a good chance you've stumbled upon that classic "old wisdom" echoing through dusty gear forums or dated social ...
Read more
The Science of Sound Part One: Understanding Guitar Filter Circuits
I can’t believe it, but if Gunstreet were my child, they’d be in middle school by now. That means that, in addition to 11 years of spec'ing out circuits, I've also been dishing out advice to our gr...
Read more
3 comments
Hi Paul, it’s not as simple as saying if you are experiencing “X” symptoms then it means “Y.” You do find that super fried (but not 100%) pots can have a sound. Basically, a hum, similar to a ground path being active instead of the hot path. Think of wiring an output jack backwards. But it gets tough beyond that. When it comes to something like “crackles and scratchiness,” sure, that could be a worn-out pot or oxidation. But there could also be damaged wire strands somewhere in your circuit, just your pickups, or the tea kettle in the next room messing with the electrical signals in your amp, or pedals. It gets super complex. But for the most part, heat, knobs, and overtightening just flat-out kill your pot—like a no-symptoms or technically signal lol.
Sean @Gunstreet
Great info! Any chance you could let us know the symptoms each of these might present. Some are obvious (like a spinning shaft) but what are the subtle signs that something is wrong?
Paul
One time, I was installing CTS push pulls into my Les Paul Studio. When I went to tighten down the bridge tone pot, I accidentally over tightened it, so the shaft itself like the brass part spun endlessly. haha. It took me HOURS to figure out how to remove it. I ended up just ripping off all the parts of the push pull. Like the black plastic, the pot back, etc. until I could vice grip the brass shaft and undo the nuts
Greg
Leave a comment
This site is protected by hCaptcha and the hCaptcha Privacy Policy and Terms of Service apply.