

Knob The Number One Killer of Guitar Pots (And How to Stop It!) Knurled Editon
In the world of guitar maintenance and modding, replacing a potentiometer—or "pot"—is inevitable, whether as an upgrade or due to wear. A crucial yet frequently overlooked point is that the leading cause of pot failure is actually the improper installation of the guitar knob. While some might focus on the risk of "frying" a pot with a soldering iron, that occurs far less often than mechanical failure from knob installation. This has been a day-one issue since we started, but we first wrote about this in 2023 while using CTS and Bourns pots; shortly thereafter, we added new design features to combat this when we were designing our own custom pot. But it doesn’t change the underlying issue.
It is a difficult truth for many, including professional technicians, to admit, as they may fear it implies a lack of expertise. However, acknowledging this common error is essential for any tech to learn or teach others, regardless of their experience level.
Whether your instrument is high-end or budget-friendly, a potentiometer's delicate shaft can only withstand a limited amount of force. All too frequently, users install knobs with excessive force, treating the process more like setting a rivet than a simple push. With the common but mistaken justification that 'they use a hammer at the factory to install them'. This destructive habit frequently results in broken shafts, bent pot casings, and inevitable component failure.
It is time to prevent this damage. Learn this super important but simple, three-step method for safely installing a guitar knob.
1. Check the Pattern: Spline Match Matters

Before you apply any force, you need to ensure your knob and pot are a perfect match. This is non-negotiable. Knurled pots come in two main shaft types, regardless of whether a pot is "US spec" or Metric:
-
18-tooth "coarse" knurled: Found on the majority of pots from brands like US, Bourns, Alpha, or your non-US instrument.
-
24-tooth "fine" knurled: This pattern is not as common as you might think but is typically found on some pot brands like CTS and CGE.
Attempting to fit a knob with mismatched splines (fine onto coarse, or coarse onto fine) onto a potentiometer will almost certainly damage the component. This can lead to cracking the wiper base, deforming the base that supports the threaded pot shaft, or bending the pot's base, which pushes the shaft inward. This kind of damage can instantly ruin the potentiometer or significantly shorten its lifespan, possibly causing it to fail within six months to a year of use.
2. Align the Splines
Once you've confirmed your pot and knob are the correct pattern, you need to align the splines. This is often an ignored step, leading to improper seating.

Gently place the knob onto the pot shaft. Before pushing, lightly rotate the knob. You should feel the plastic internal splines of the knob drop and settle a little, perfectly mating the knob with the metal splines of the pot. The knob should now be seated just enough so that it won't fall off. Note that if you are installing a brand-new knob, it may be tight, so it might take a few tries to get it perfect.
3. Install With a Finger, Not Your Palm
This final installation step is the most critical and frequently determines whether the potentiometer's lifespan is shortened or ended prematurely. The maximum downward pressure a standard potentiometer is designed to handle is surprisingly low—typically 30 lbs, and closer to 20 lbs for "Push-Pull" models. While 30 lbs may sound substantial, it is not. For context, a standard finger can apply approximately 5–10 lbs of force.

Using the entire palm to press the knob down can easily apply 2 to 5 times the acceptable force, resulting in 60 to 150 lbs of pressure. When subjected to this excessive force, the potentiometer shaft or base will be damaged almost instantly, as they are not built to withstand such extreme pressure.

The correct method is to use one or two fingers.
-
Use the pad of a single finger (typically your middle finger) to gently apply pressure to the top of the knob.
-
Slowly, and with light, steady pressure, push the knob into place.
You only need to push the knob down until it is snug and no knurled pattern is visible.
Note: Brand new knobs may be tight. If you can't push it into place with one or two fingers, stop. You either still have a spline misalignment or the wrong pattern—revisit steps 1 and 2. It is crucial to remember that pushing with your palm means you are using excessive force, which is what effectively kills your potentiometer.
By adopting these three simple stages, you'll save yourself the hassle of frequent pot replacement and keep your electronics running smoothly for years to come.
But wait. What if you need to remove the knob?
Whether you are changing the pot or have just installed the knob only to realize the numbers don't line up, you must be extremely careful when removing it. Again, pots are designed for 20-30 lbs. of upward or downward force.
NEVER PULL STRAIGHT UP

This technique is similar to using your palm, but it engages stronger muscle groups, utilizing your biceps and back muscles for increased leverage and support.
"I'm fine, I have a new, sophisticated knob-pulling tool acquired from a luthier merchant."
While knob-pulling tools are excellent, they require the understanding of a seasoned professional. Improper use offers no functional advantage over manually pulling the knob off by hand.
Then how do I remove a knob?
It's extremely easy. To remove the knob, gently lift the left side and then the right side repeatedly. This "walk-off" technique uses many small, controlled movements. Avoid taking large steps; the accumulation of small lifts will eventually lead to the knob being fully removed.

Read more
Circuits for Pedal Lovers (Telecaster Edition)
The Fender Telecaster, the old battleaxe of the guitar world, is best known for its biting treble, clear articulation, and endless versatility. But even the most iconic guitars can benefit from a l...
Read more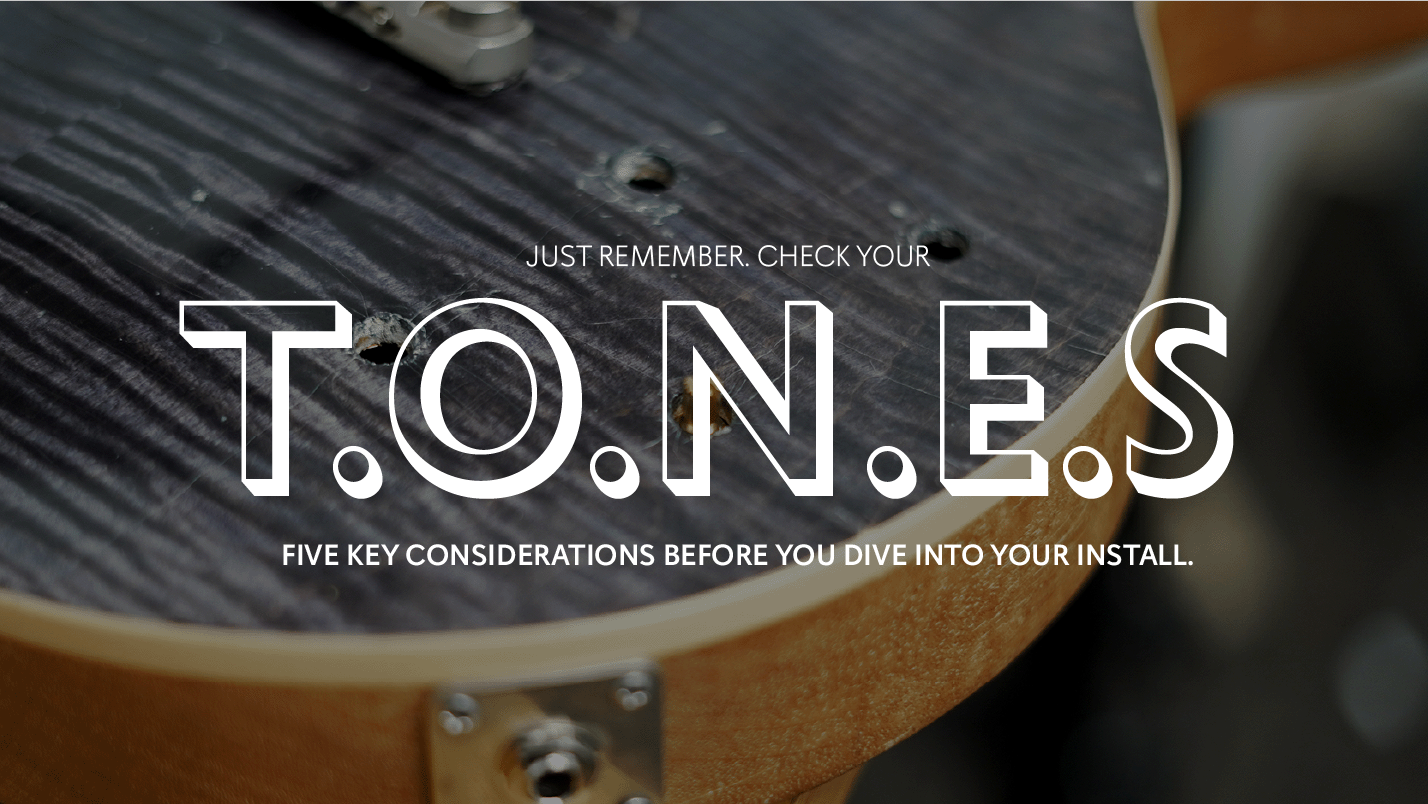
Before You Mod: Check Your T.O.N.E.S.
We've learned the hard way, so you don't have to. Here are five key considerations before you dive into your install. Just remember – check your T.O.N.E.S. TEST FIT EVERYTHING Here’s a simple bu...
Read more
Leave a comment
This site is protected by hCaptcha and the hCaptcha Privacy Policy and Terms of Service apply.