
The Esquire Build: The Grandfather of the Telecaster

With the official launch of our latest batch of hand-wired and solderless kits—which you can find at the links above—we were feeling inspired to tackle a brand-new project... well, technically a total rebuild. lol. But before we break out the soldering iron, let’s do a quick deep dive for the folks who are new to the Esquire or just want a refresher on how this brilliant piece of logical engineering actually functions.
A Short history: The Esquire.
This was Leo Fender’s first real swing at a mass-produced, solid-body electric guitar. After years of relentless tinkering in his Radio Shop, Leo set out to engineer an instrument specifically tuned to the needs of working musicians. At the time, these players were constantly battling feedback from hollow bodies in loud dance halls—and Leo’s solution was pure, logical genius!

Wayback machine: McCulley, Jerry (April 28, 2009). "Legendary Guitar: Jeff Beck's 1954 Yardbirds Esquire". Archived from the original on August 19, 2013.
Decoding the Controls
In true Leo Fender fashion, the Esquire’s circuit is all about providing three distinct, pre-selected sounds. It’s highly likely Leo dialed these in by picking the brains of local gigging musicians and tuning the electronics to solve their real-world problems—honestly, that’s not too far off from how we handle our own design process today! lol. Here’s a quick breakdown of what you’ll find in those three switch positions:

-
-
Position 1: Volume Control Only. By bypassing the tone circuit entirely, this setting is a total favorite for players chasing that pure, unfiltered high-end bite. While many "tone purists" swear that even a disengaged tone circuit can "color" your sound—claiming it bleeds off that essential sparkle—to be honest, in the world of passive electronics, we usually think that’s just a bit of a placebo. lol. But we’ll let you be the judge—flick the switch between 1 and 2 quickly and see what your ears tell you!
-
Position 2: Tone Engaged. This is your standard setting that allows you to "tune" your sound exactly to your preference. While it was remarkably cutting-edge tech at the time, nowadays it’s often overlooked as the most basic of features—but it’s still pure, logical genius for dialing in your signature vibe!
-
Position 3: Classic Leo Fender Tone Shaping. Leo was famous for engineering circuits tuned to specific player needs (much like the Jazzmaster’s infamous rhythm circuit). This position acts as a fixed high-end cut, providing that warm, rolled-off sound that many players compare to a neck pickup. It’s a masterclass in efficiency! lol.
-
A Circuit Designer’s Perspective
While it might trigger some of the "tone purists" out there, we don’t view this as some "magical" or romanticized "godly" circuit—it’s just a brilliant piece of logical engineering. lol. Leo Fender’s design gives the player two defined, "tuned" sounds (positions 1 & 3) and one customizable setting (position 2). It is incredibly efficient: you can quickly slap the switch to the far left for a rhythm part, then right before your solo, flick it back to the far right for a perfectly preset lead tone. Topped off with a middle position that lets you dial in your own "signature sound," it’s just pure genius. Just try not to bump it mid-show! To our ears, rolling off that tone control to around 3 or 4 gives you that perfect middle-position vibe you’d find on a standard two-pickup Telecaster. This masterclass design is exactly why you saw it used so heavily by legends like Jeff Beck, Keith Richards, Joe Walsh, and Rory Gallagher, just to name a few!
Now for the fun part: Transforming a 2-pickup Tele into an Esquire!

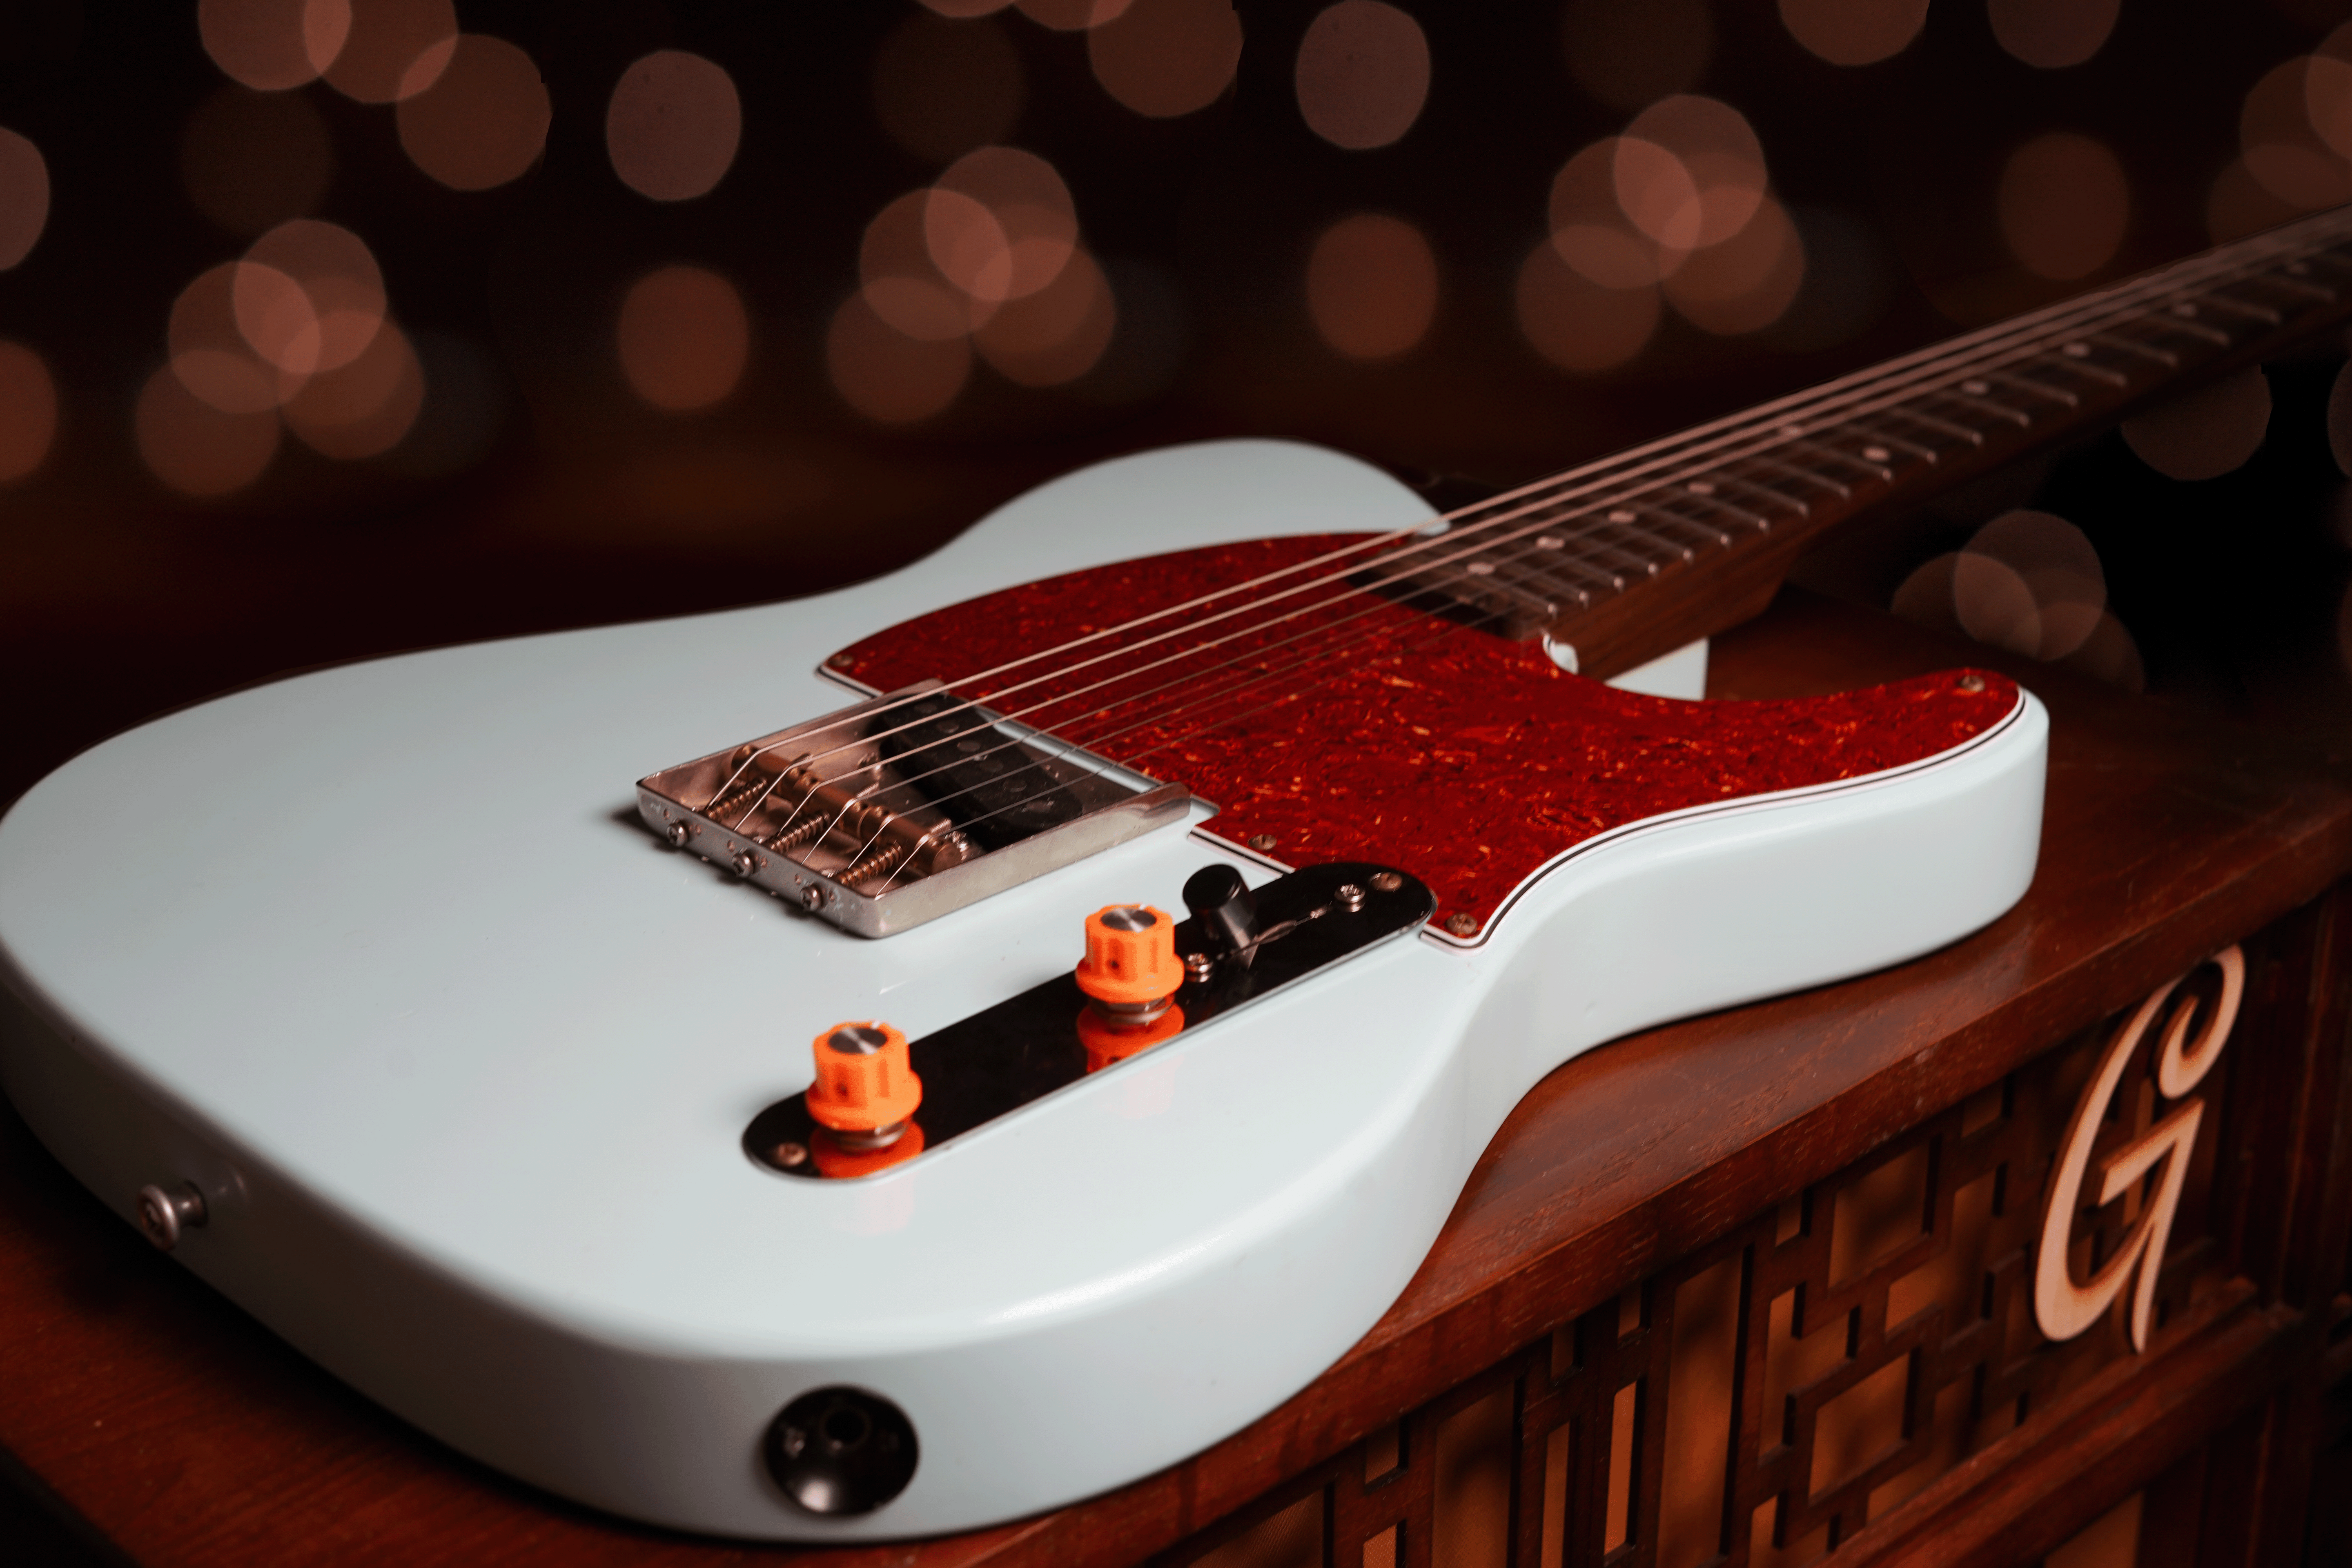
This is my personal instrument, born back in 2018 through that familiar ritual of hunting down standalone components and painstakingly piecing them together. lol. It features a Daphne Blue GFS body—which has yellowed quite nicely over the years—paired with a one-piece rosewood neck. Here’s a fun fact: I actually scored that neck on eBay for a total bargain, like $80, mostly because its initial condition was remarkably rough and, frankly, unplayable. Like truly. However, by putting my "aspiring luthier" skills to the test, I was able to transform it into an exceptional player. The rest of the hardware consists of aged Gotoh parts that have been intentionally distressed for that classic, worn-in look, topped off with one of the very first 5-way Telecaster kits we ever produced and some random "modern-voiced" pickups.
As it stands, I’ve already yanked the original bridge pickup. To be honest, I just wasn’t a fan of the "Modern" tone, and the plan was always to wind a custom replacement in the "near future"—though in guitar tech time, that "near future" ended up stretching out for a year or two, or maybe 4 if I am honest. haha.

So, here’s the game plan: we’re gonna gut those old electronics entirely. In their place, I’m dropping in one of our brand-new hand-wired Esquire Modern kits, paired up with one of our '50s Tele bridge pickups to nail that vintage-correct vibe you’d find in the original masterpieces. Lastly, we’re ditching the pickguard since that neck pickup is officially history, and instead, I’ll be installing a similar red tortoise version designed specifically for a sleek Esquire look!
Let the teardown begin!

Check out the original wiring kit. This is technically from one of the very first batches of 5-way kits we ever produced, but we’re officially cutting it out to make room for something better. Rest in peace. lol.
Pro tech tip: since we see a massive amount of installs in our line of work, here’s a quick piece of advice for when you’re clearing the deck. If you’re going to cut a wire, don’t just snip it randomly! Instead, cut it right at the solder joint. This ensures you don’t end up with a wire that’s too short, which is a guaranteed way to ruin your—or your tech’s—entire day. lol.

With that out of the way let's remove the pickguard

Peeling this back really shines a light on my shielding job. Telecasters—and more importantly, vintage-style Telecasters—are notorious for being noise-sensitive the second you kick on any gain. It’s always a brilliant move to shield your cavities; and if you’re looking to go total overkill for that near dead-silent performance, you should definitely link the cavities together! lol.


The Electronics

Back in the day, Fender didn’t really have a "dedicated" pickup set for every single model. They were just winding pickups in massive batches and pulling from the stock to fill whatever orders hit the desk. This meant a single bridge pickup could just as easily end up in an Esquire or a Broadcaster—it was all about efficiency! Because of that, our '50s era bridge pickup is a total perfect fit for this build, specifically engineered to nail that authentic vibe of those original masterpieces.
Let's attach the pickup to the Bridge

Ready for a fun fact? Did you know that Leo designed your bridge assembly so it doesn’t even require a "tailpiece ground" like you’d find on most other guitars? In a stroke of logical brilliance, Leo made it so the screws attaching the pickup to the bridge handle the grounding by making direct contact between the bridge and that copper-plated steel baseplate. Again, this guy’s engineering mind is just pure genius! lol. But, if you happen to be swapping to a bridge pickup that lacks this steel plate—like a Seymour Duncan Quarter Pounder—you’ll have to engineer your own tailpiece ground by sandwiching a bit of wire between the bridge and the body.
Installing the pickup.
Luckily, the installation is a total breeze! On this particular pickup, the white wire represents your "hot" signal, while the black wire handles the ground. We’ll kick things off by soldering that hot wire directly to the bridge pickup input on the switch. Next, we’ll move on to the pickup ground, followed closely by the copper shielding grounds. Pay close attention here—this step is absolutely critical. Without a proper ground connection, that copper tape will basically turn into a satellite dish for every bit of interference in the room! lol.


Lets attach the control plate!

Before we dive in, let’s make sure we clear all those wires away from the lever switch. In these remarkably tight cavities, it’s all too easy for a stray wire to bump those delicate “pinchers” and knock them “out of spec.” Luckily, if that happens, it’s usually a total breeze to fix—but by being a bit proactive now, we can save ourselves a headache later... It just makes the whole job easier in the end!

Here’s another fun tip for you techs. In most cases, if a lever switch is “going bad,” the switch itself is not. Just from natural usage or technically unnatural usage like hard switch hits, or dropping the guitar, etc., one of these pinchers was bumped “out of spec.” In most cases, it is as simple as lightly pressing on the pincher when the switch is not in that position—i.e., if the middle is not working, moving the lever to the neck and pressing the middle pincher will, in most cases, fix the problem.
Back to the install: Let's attach the screws


But wait!
Before we throw some strings on, let's give this a quick tap test. This is a classic, low-effort technique that works for the vast majority of our kits (expect Strat blender kits which will give you false positives). lol. Once you're plugged into an amp, just give the pickup a light tap with a screwdriver to ensure the switch, volume, and tone are all responding correctly. Checking this now is a total pro move—it saves you the massive headache of having to rip everything back apart if something isn't quite right.

And that's it for the electronics.
Goodbye Neck pickup hello new Pickguard.
While there’s nothing stopping us from keeping the original pickguard and leaving that neck pickup cavity exposed—we could just call that "extra storage." lol—we decided to swap it out for a dedicated Esquire guard. Let's get this new one installed. But before we screw it down, check out the two of them side by side. We opted for a redder tortoise version this time—it’s a bit of a different vibe, but exactly the look we were going for.

Finishing the Build!
Next up, let's talk knobs. Since I'm a firm believer that your instrument should reflect your personal vibe—both tonally and aesthetically—I've decided to ditch the original aged dome knobs. Instead, I'm going with one of our custom solid-shaft sets to really give this build that final, personalized touch.

Since this guitar has a distinct color palette, I went with orange to accent the rest of the colors! Plus, it will probably trigger the purists in the comments below! ;)

Alright now for the Beauty Shots.
Before
And After

It is remarkable how a few intentional modifications—both in electronics and aesthetics—can transform an instrument from something that sits in the rack to one you simply cannot put down. It takes it from an "eh, I'll play that another day" experience to a genuine "oh man, I forgot how much I love this thing" moment.
Another Beauty shot

Okay one more...

And that's it
So, what are your thoughts on this build? Did it hit the mark for you? Maybe you’re eyeing a guitar in the corner of your room that’s been gathering some dust and thinking about how you’d mod it—or maybe you’re a purist who thinks we just committed sacrilege against the traditional Telecaster! Either way, let us know in the comments. If you enjoy this kind of build, definitely speak up. We’d love any excuse to keep these Mod posts coming! ;)
Read more

So You Want to Mod Your Telecaster: 5 Strategies to Get More Out of Your Tele
The Fender Telecaster is the ultimate "blank canvas" of the guitar world. Its simple, robust design makes it incredibly easy to tinker with, but before you break out the soldering iron, you need to...
Read more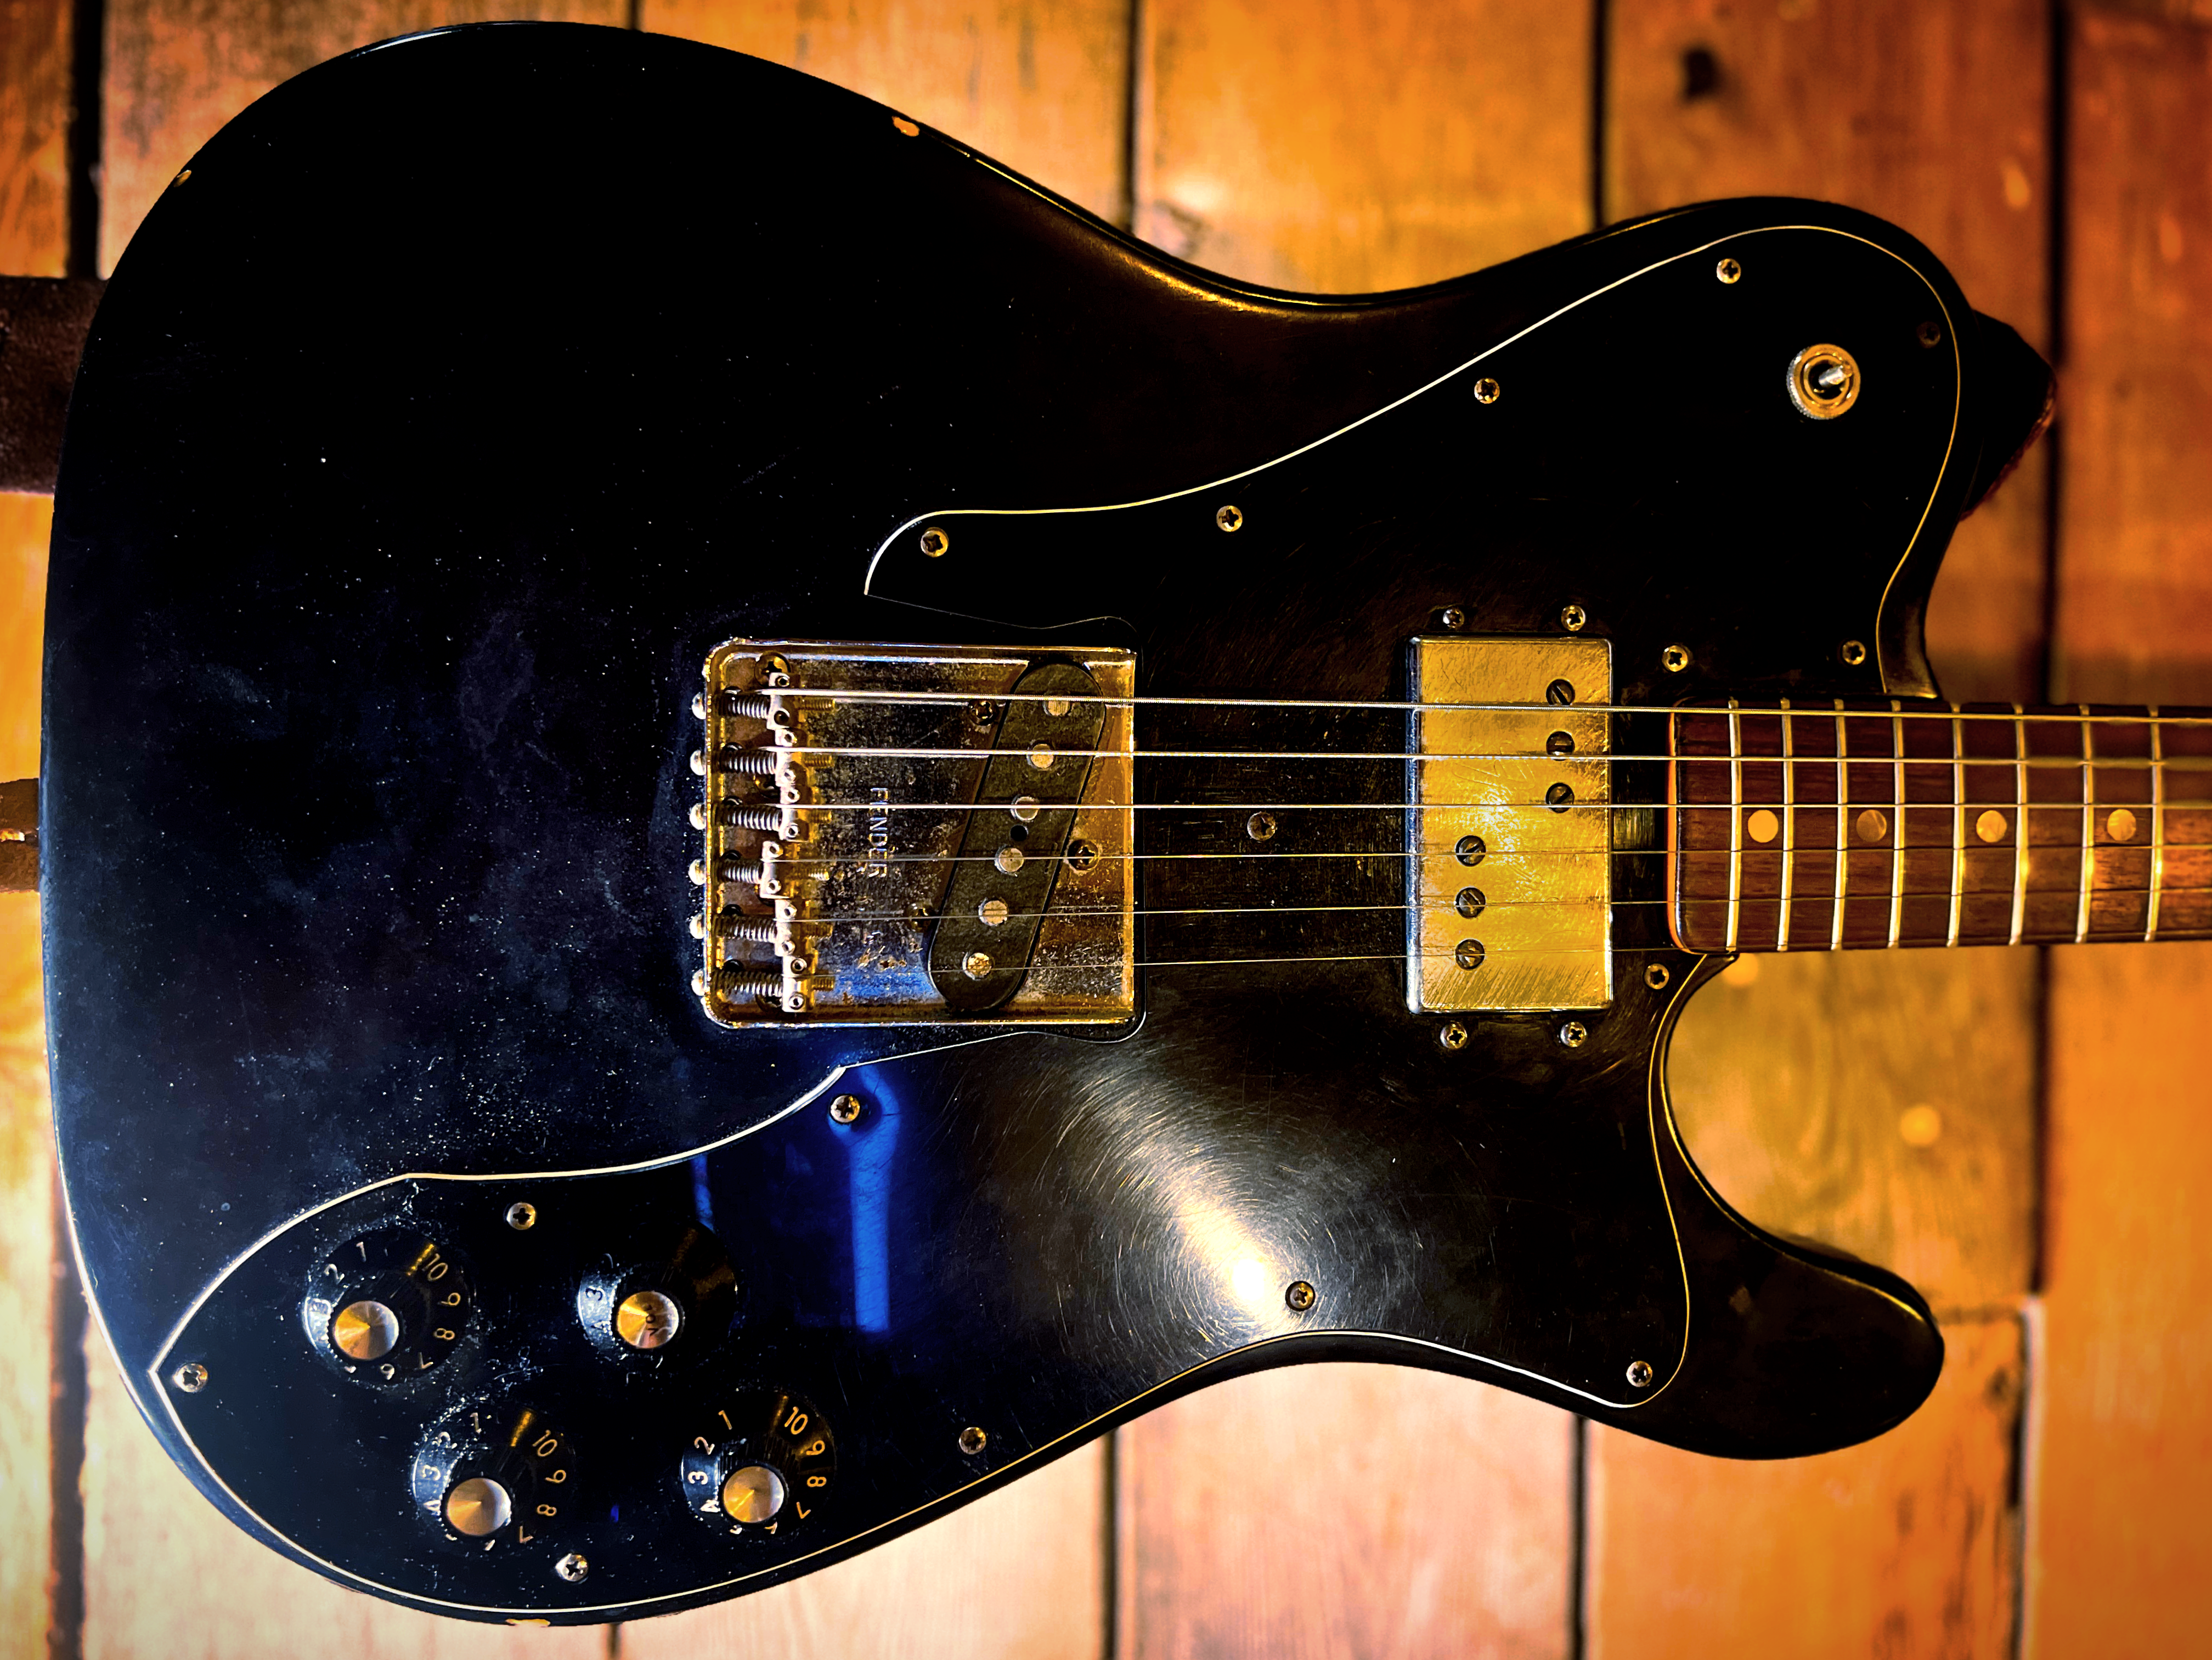
The Allure of Mix-and-Matching Pickups
Hey Gearheads and Tone Chasers! Ever looked at your guitar and wondered if you could squeeze even more sonic goodness out of it? One of the most exciting and often overlooked avenues for tone sculp...
Read more
4 comments
Heya Sean,, cool looking Tele to Esquire trans! Let’s HEAR IT!!
Need a video!!
Mike Trostle
Hi Michael, we don’t have any record of correspondence from you, but you should check out our hand-wired P-Bass kit. We offer it in a ’50s-style option and a solderless version. This kit is flexible; it is compatible as long as the distance from the volume pot to the output jack is within 7 inches.
Sean @Gunstreet
Excellent write up and build! 👍🏼
Ben
How about a current esquire p bass (telecaster) solderless control plate? I’ve asked before…..
Michael Stoebick
Leave a comment
This site is protected by hCaptcha and the hCaptcha Privacy Policy and Terms of Service apply.