
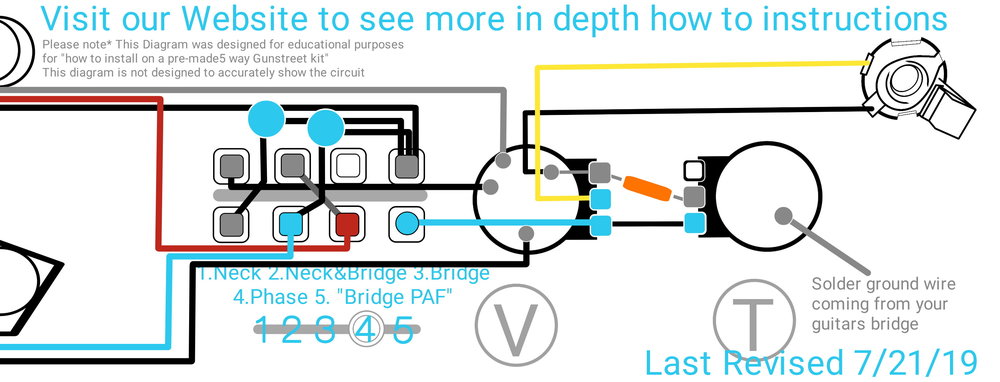
Thank you for choosing Gunstreet. Below is the step by step instructions for your 5 way tele harness. Please note that these instructions are best used when paired with the wiring diagram we included in your box.
Are you using a mobile device or tablet? This page is best viewed on the "Desktop Site" view
Most Common Pickup Wires
Does your tele's neck pickup only have 2 wires? Click here
Let's Start with the deconstruction

Remove the 2 plate screws
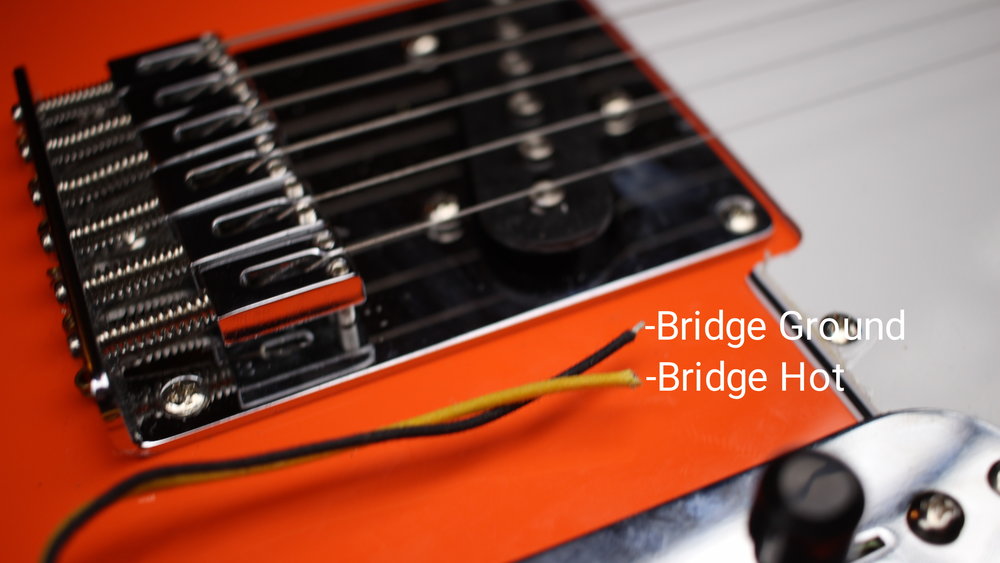
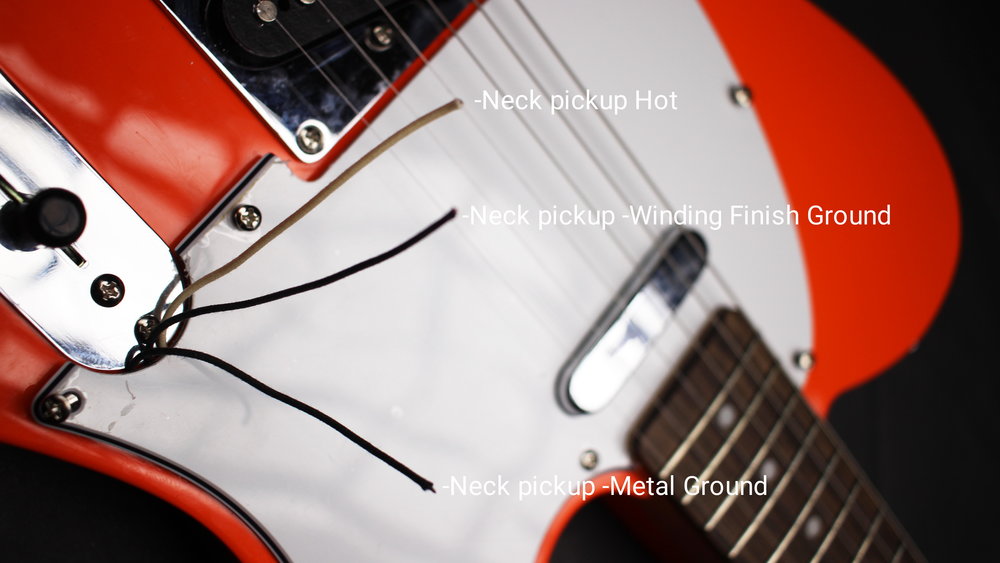
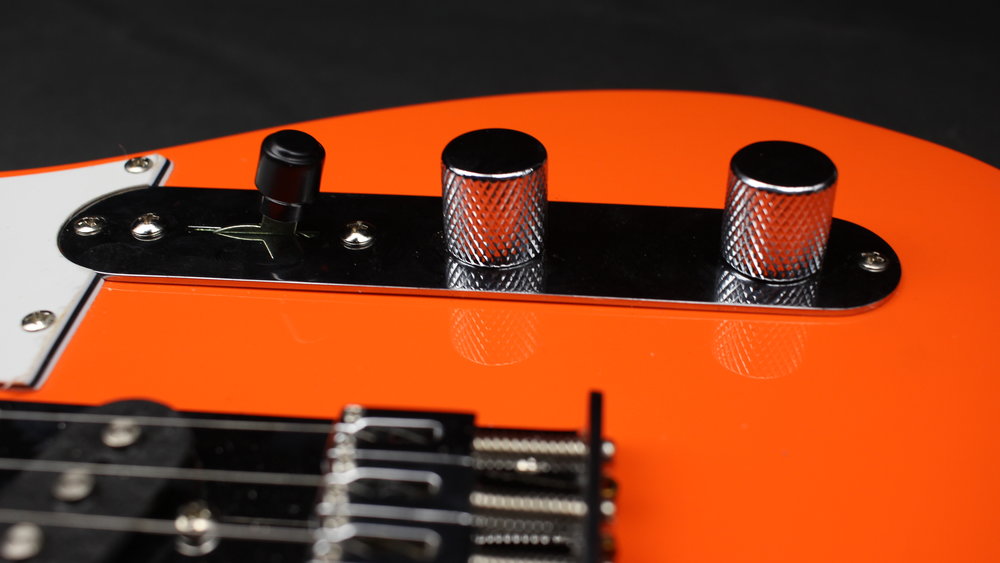
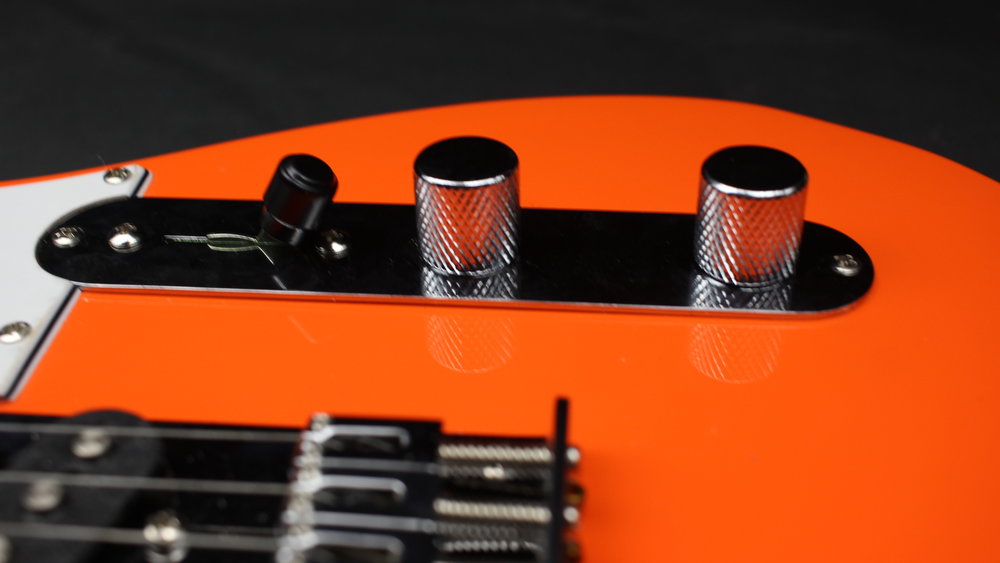
Make sure and take note of two things what color your pickup wires are and what ground wires you have. in this example the bridge pickup features a yellow and black wire and the neck is white and black


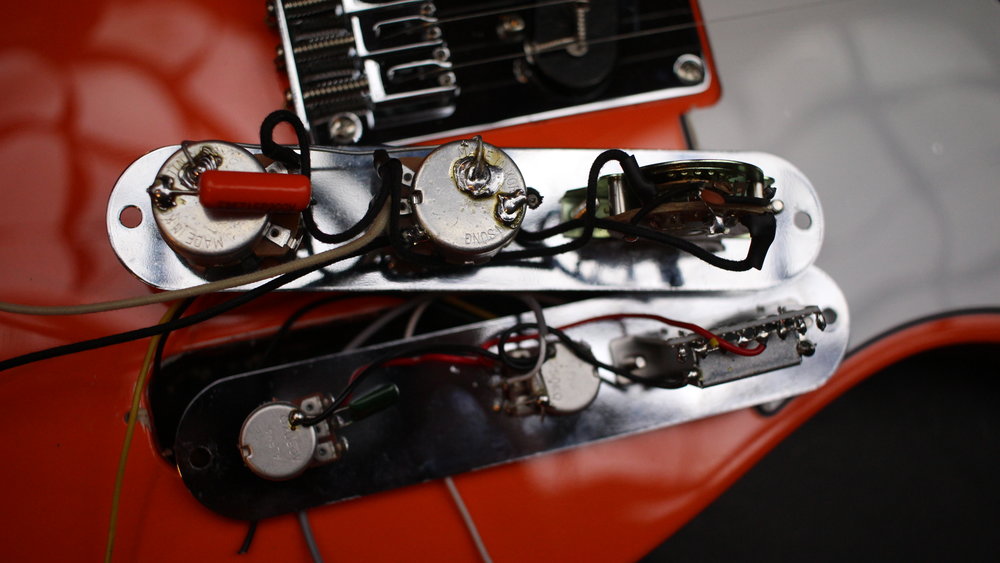
Remove the output
Next remove the output jack and remove any wires attached to the guitars wiring. Make sure once you are done to arrange the wires in a way you can remember what they are. i.e neck pickup wires together, bridge pickup wires together, and any grounds together. Install the new wiring onto the metal plate

lets start with the neck pickup
Neck Pickup Finish ground
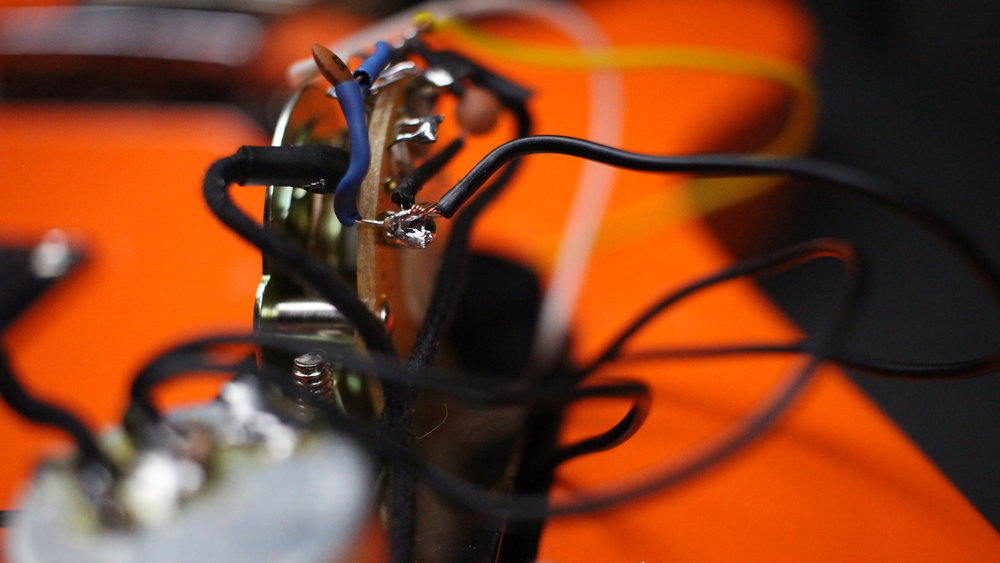
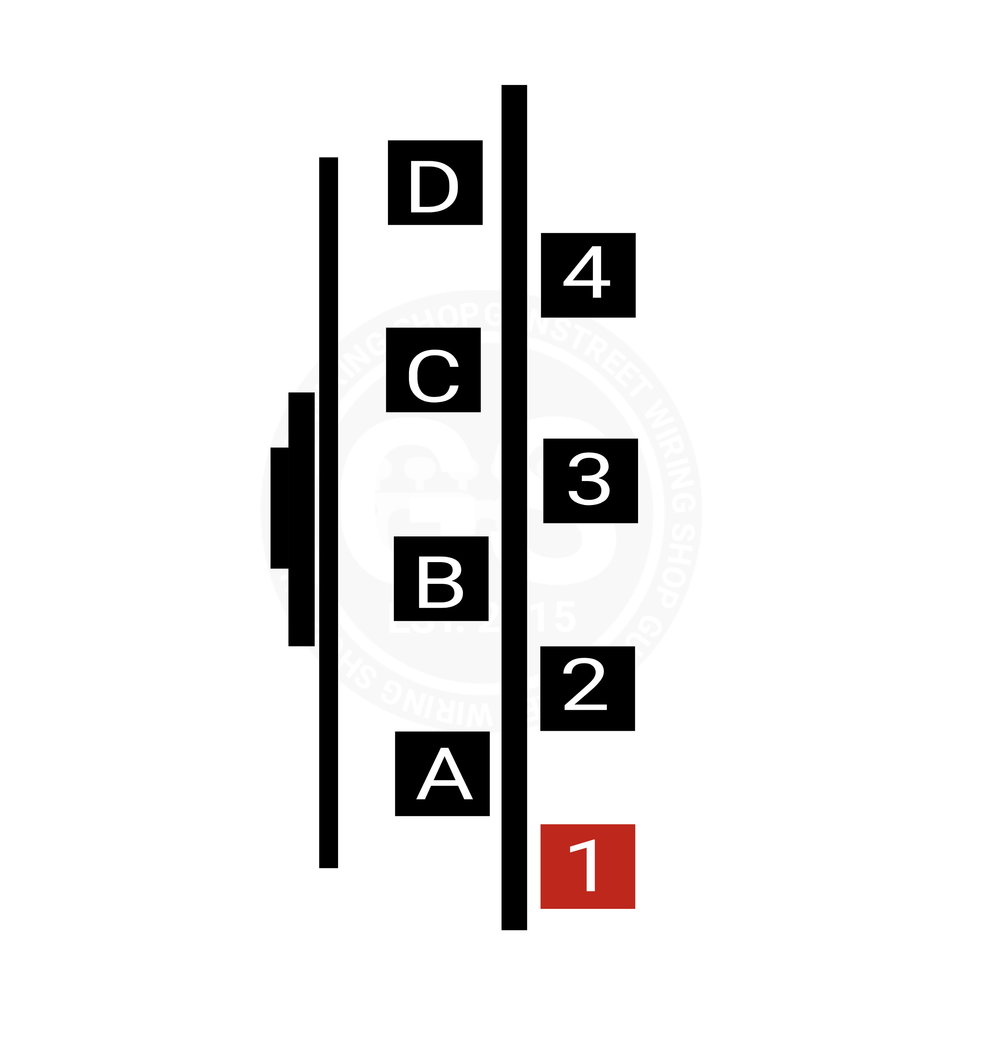
Start with the black neck pickup ground by soldering it to the bottom right lug named "1" on the diagram above
Neck hot output
next, solder the white neck hot output to the second to the bottom left lug named "B" on the diagram below


Installing the bridge pickup
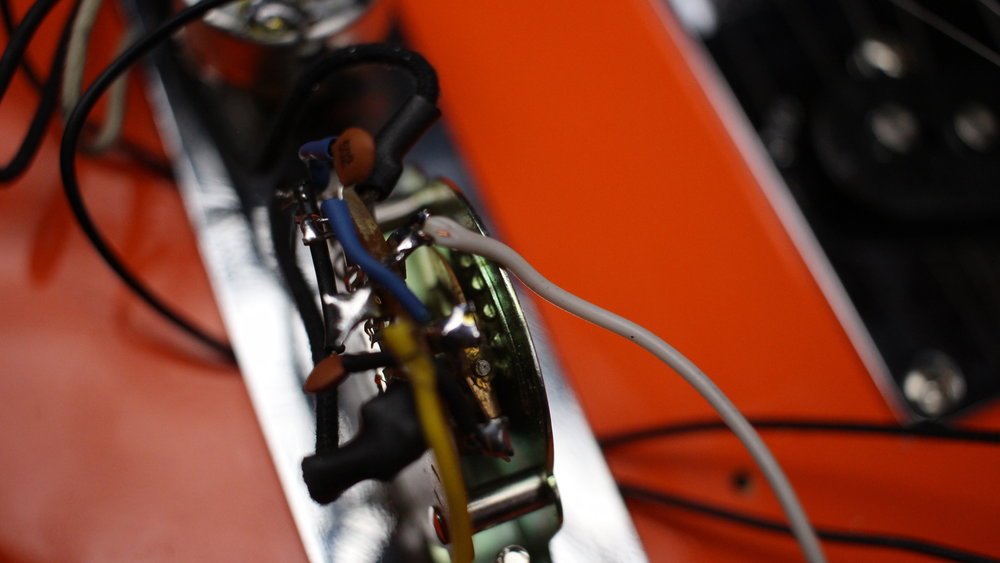
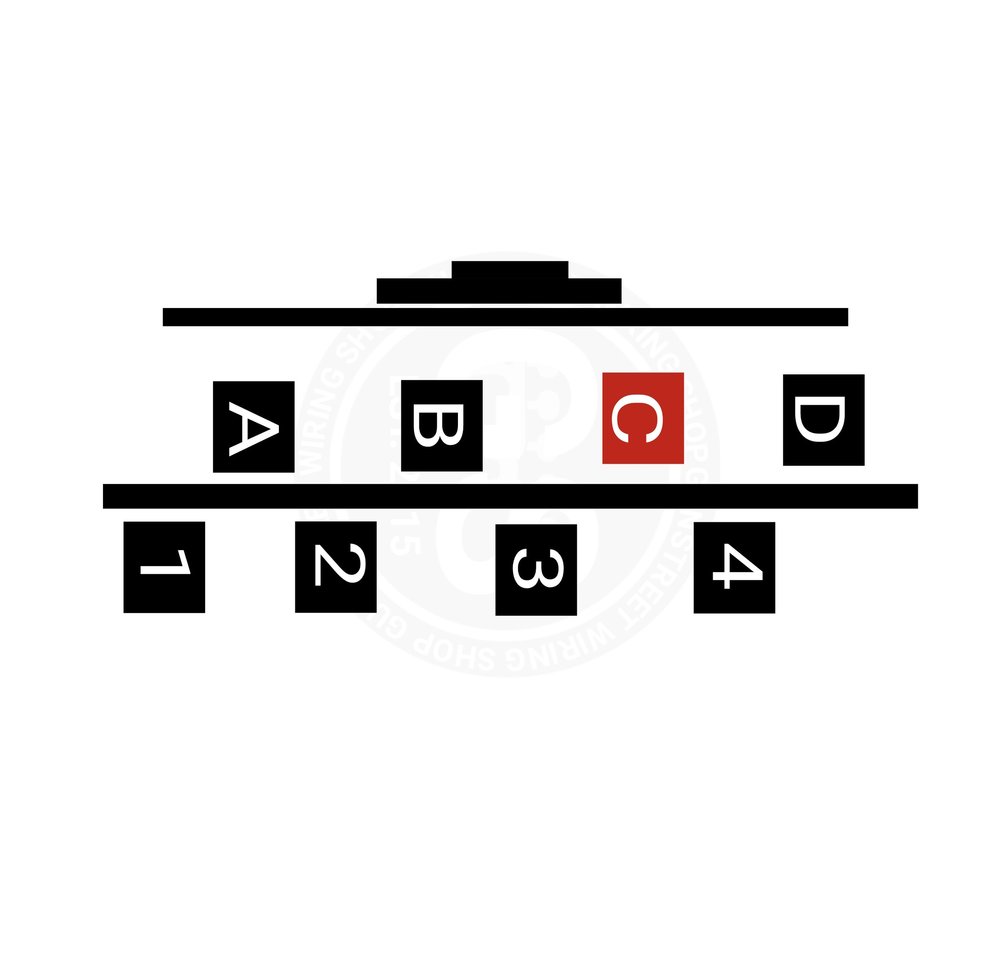
next, solder the Yellow bridge hot output to the second to the top left lug named "C" on the diagram above
the
Most important Part
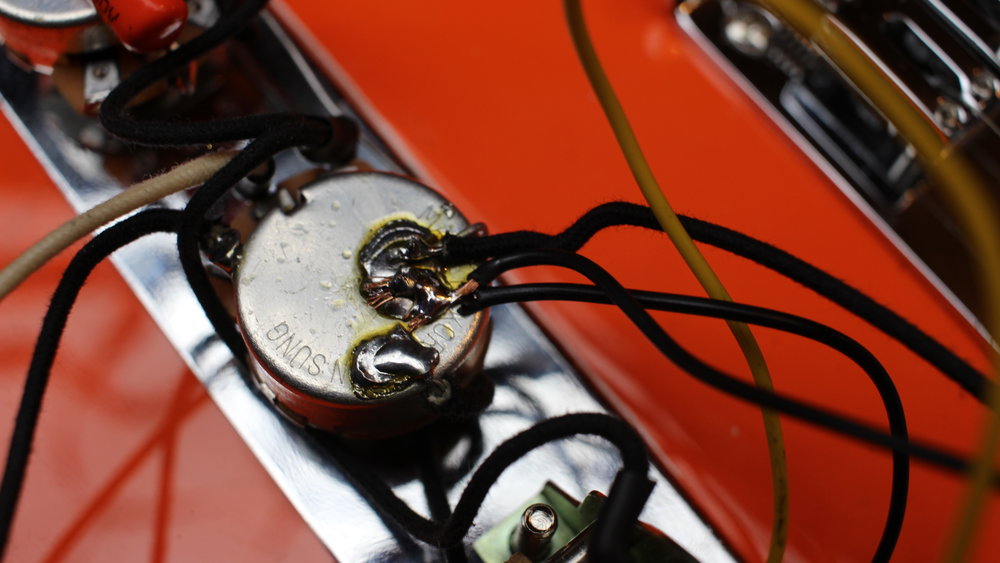
Next, combine the "Ground Wire" coming from your guitars Bridge pickup and the "Ground Wire" coming from your guitars actual bridge and your Necks second ground to the casing casing of the volume pot. This will ground the whole guitar stopping most buzzing when touching the metal parts. Once that is done go ahead and reinstall the metal plate to the guitar.
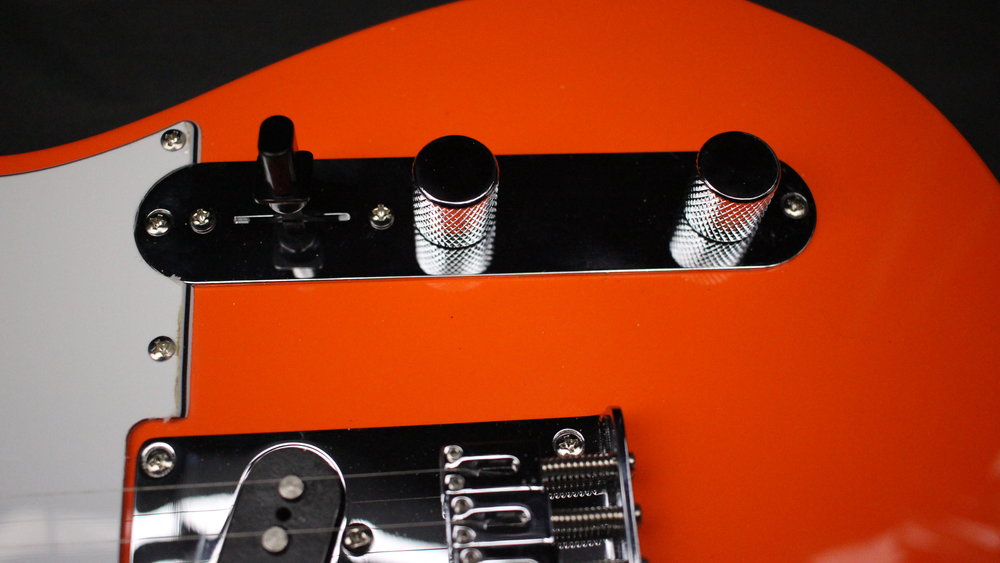
That's It!
You can test if the wiring is working by going through the controls while lightly tapping the pickups with a metal object. If you have any questions feel free to contact us!
Position 1: Neck Pickup

Position 2: Neck & Bridge Pickup
Position 3: Bridge Pickup
Position 4:
Neck & Bridge Pickups out of Phased
With this set up the two pickups are fighting each other and the strongest frequencies survive. This phase setting is perfect for "chicken pick'n" and distortion pickup squeals.
Position 5:
"PAF Humbucker"
With this set up we tried to create that distinct Classic PAF sound. We cut most of the low end and some of the mids creating a nice top end clarity like a famous PAF bridge humbucker